This week, I will be submitting my animation, Phoenix Tears, to the Schenectady Film Fest. If I'm lucky it could be selected for one of three spots to be shown at Proctors Theater on September 26th.
So on this occasion, I'll give you a small peek into how I made
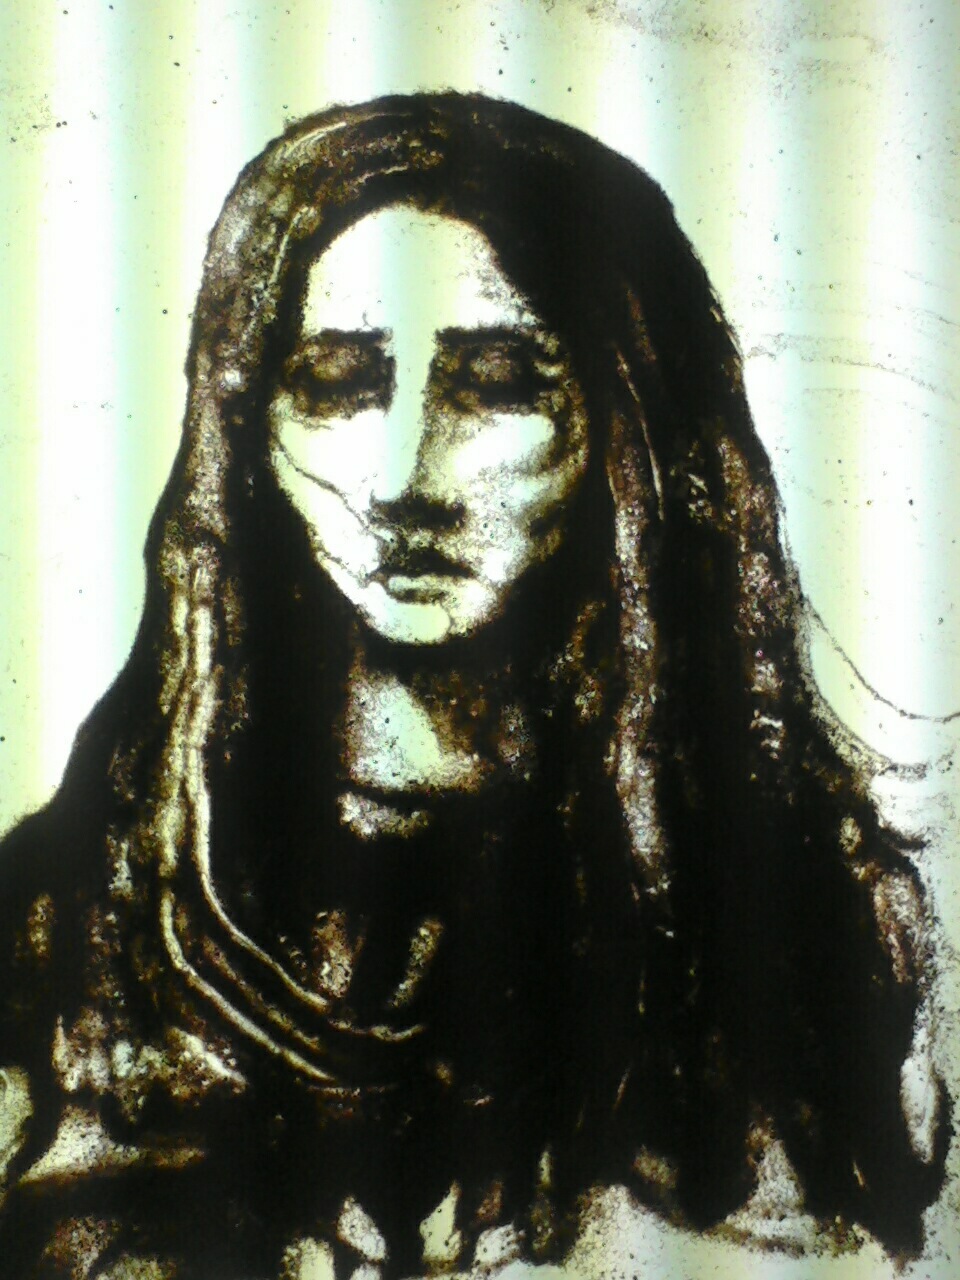
this animation of sand...

So to start, obviously you need an idea to build from. I had a lot going on in my mind when I was creating this and found it kinda hard to organize my thoughts. I started pretty much making things up as I went along, adding bits here and there trying to make sense of it.
lets see if you can..

Materials used:
-24''x36'' light table
-bag of regular ol sand
-video camera
-tripod
-mac computer with istopmotion and imovie
-occasionally I used a paintbrush for details but 97% of it was done with..
-my hands

Anyone who has done animation can tell you what a long and tedious process it is. However, stop motion with sand takes it to a whole new level :P
Dont get me wrong, there were times when the sand made it easier and more fluid.. but the majority of it was going over an edge again and again to get it right.
It took a lot of adding and subtracting sand from areas along with just moving it around the surface. For the shading, I would sort of mist the sand over an area and slowly build on it.
I worked mainly in shadows to compose each image. leaving just the light coming through the sand as my highlights.

Generally I would spend about an hour composing each scene before I started animating. Each frame would take anywhere between 5 mins to 1 hour depending on the complexity of the scene.

In order to get any decent amount of work done, I stayed in the studio working for 12 hours straight, usually two or three nights per week in succession.

With the help of Porcupine Tree, Tool, Pink Floyd, Deathnote ost and Harry Potter audio books, to name a few... I was able to pull all-nighter after all-nighter to finish this 6 month project.
Call me crazy or a perfectionist (both of which I am), but I was willing to spend as much time as it took to get it to a point where i could be happy with it.
Even if it did take over 140 hours..